Logo

WooRollback Pro

Install and manage WooRollback Pro easily with this step-by-step guide.

User Guide: Install WooRollback Pro plugin

✅ Prerequisites

Before installing WooRollback Pro, ensure the following are installed and active on your site:

  • WordPress (latest version recommended)
  • WooCommerce plugin

1️⃣ Purchase & Download

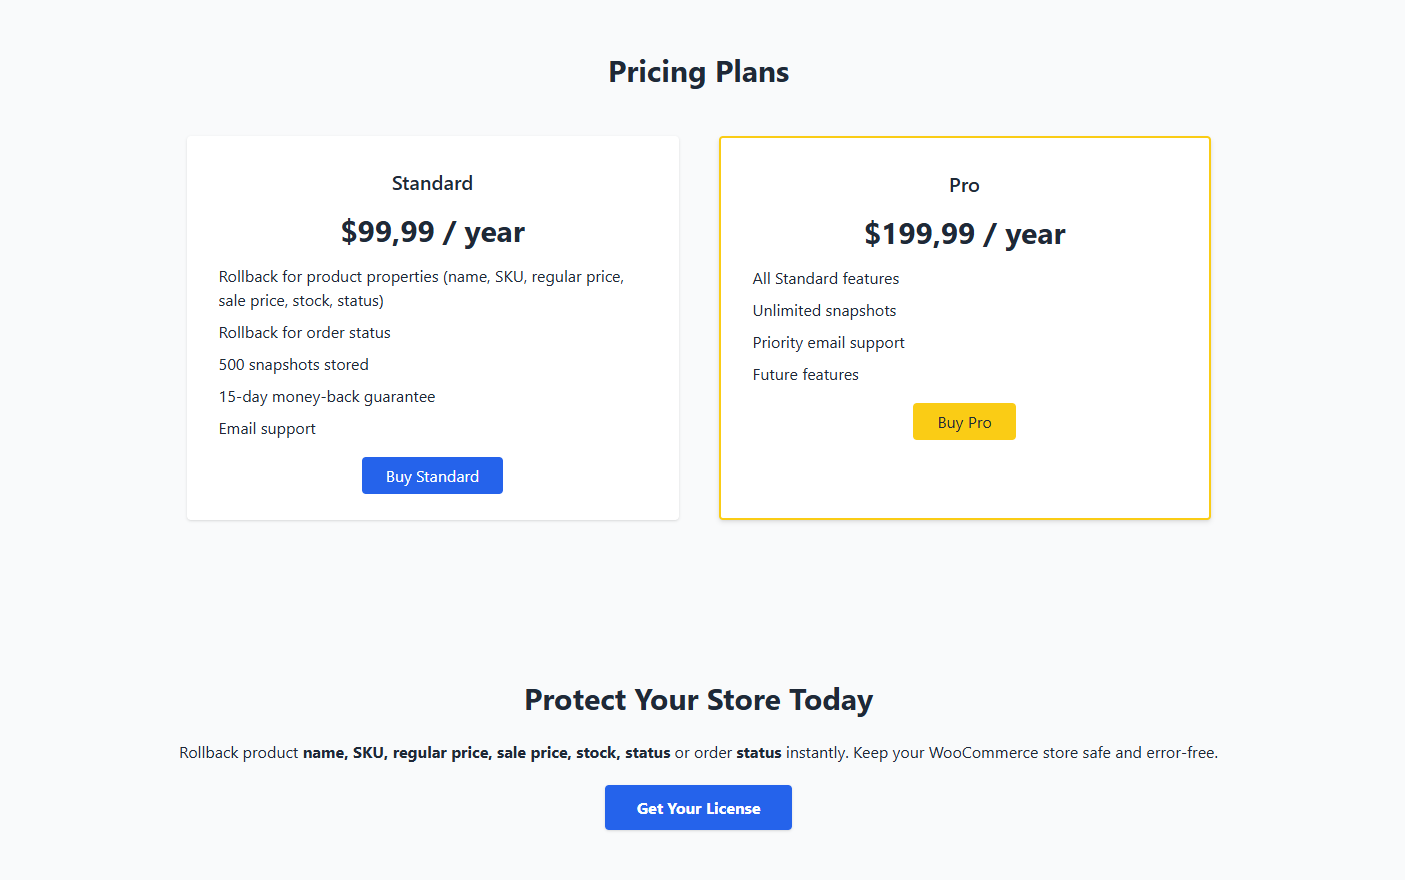
To get WooRollback Pro, you need to purchase a license first:

  • Go to the WooRollback Pro Pricing Page and select your preferred plan.
  • Complete the purchase process.
  • After purchase, you will receive an email containing:
    • The plugin ZIP file download link.
    • Your unique license key for activation.
  • Download the ZIP file and keep it accessible for the WordPress upload process.

2️⃣ Upload & Activate Plugin

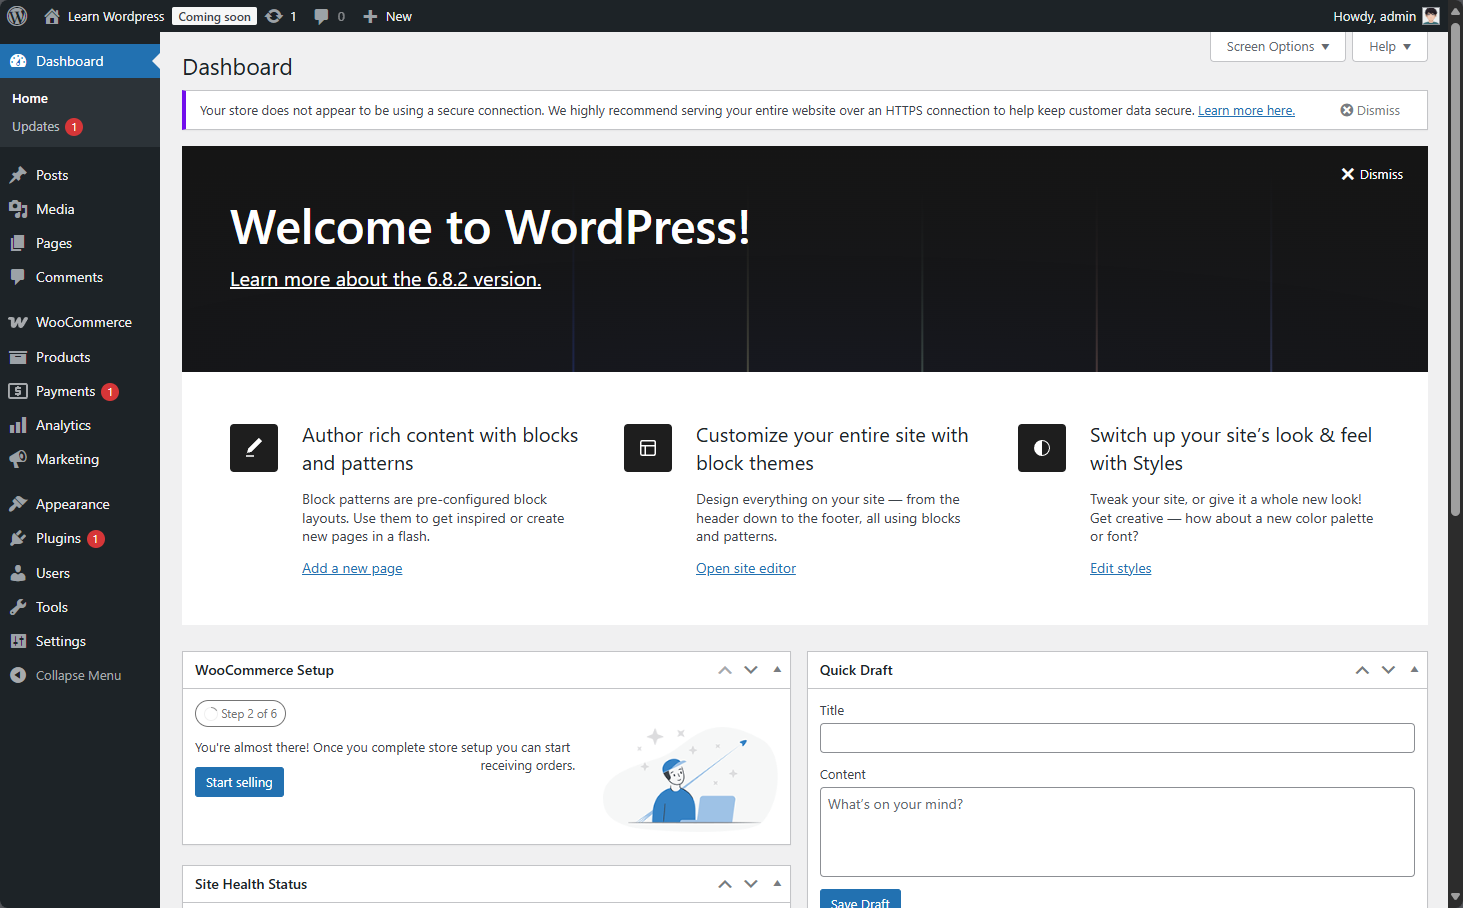
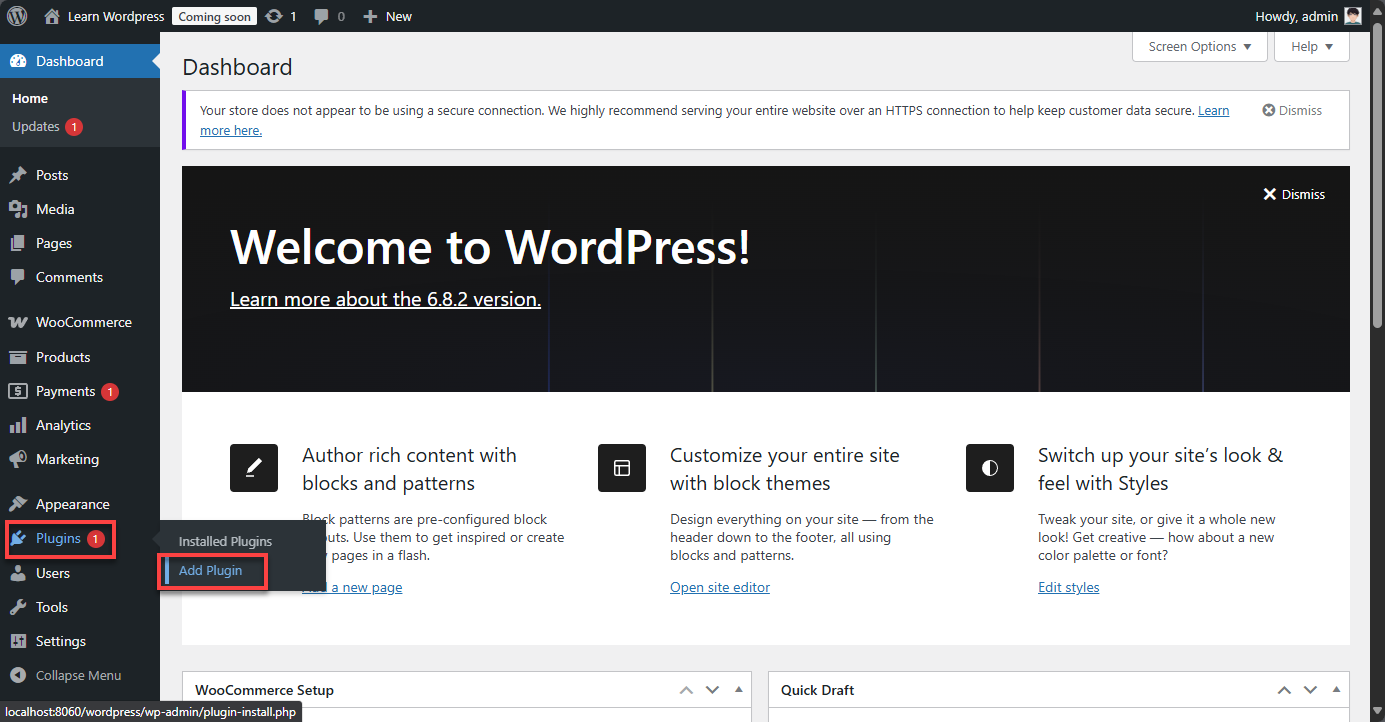
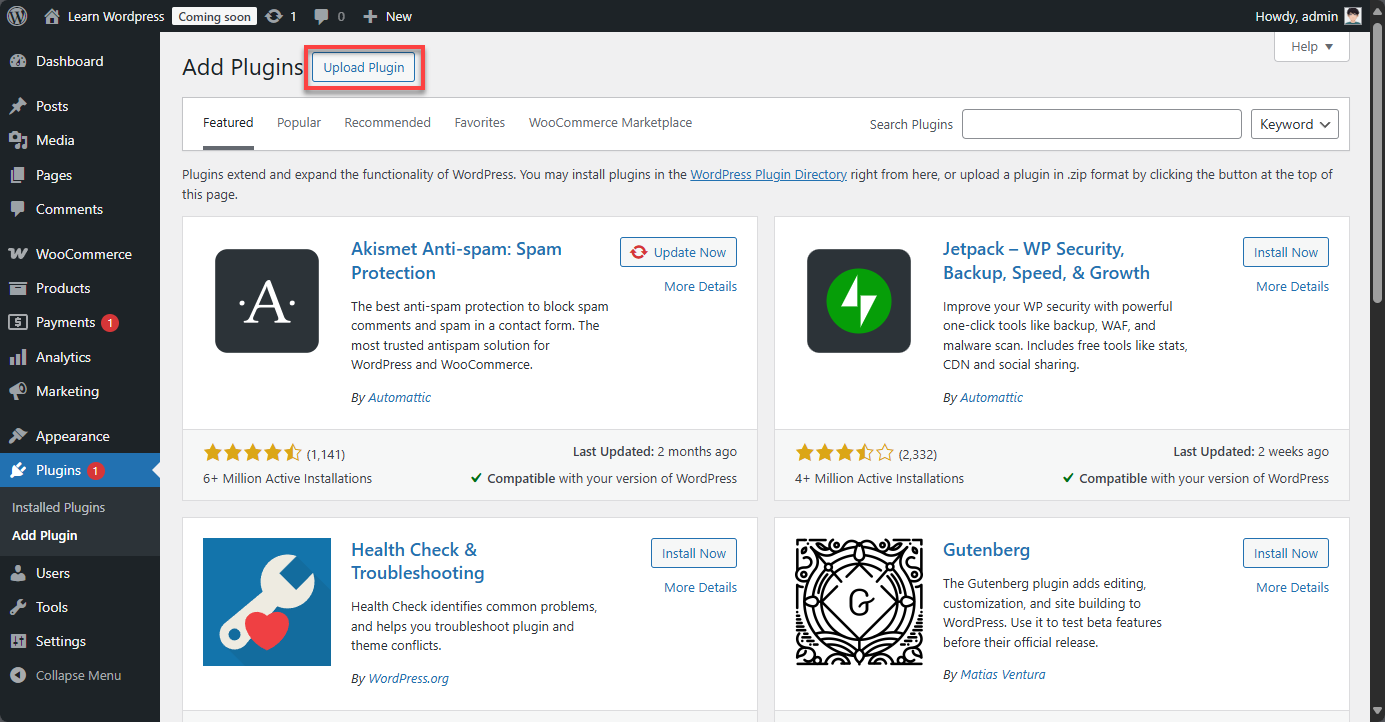
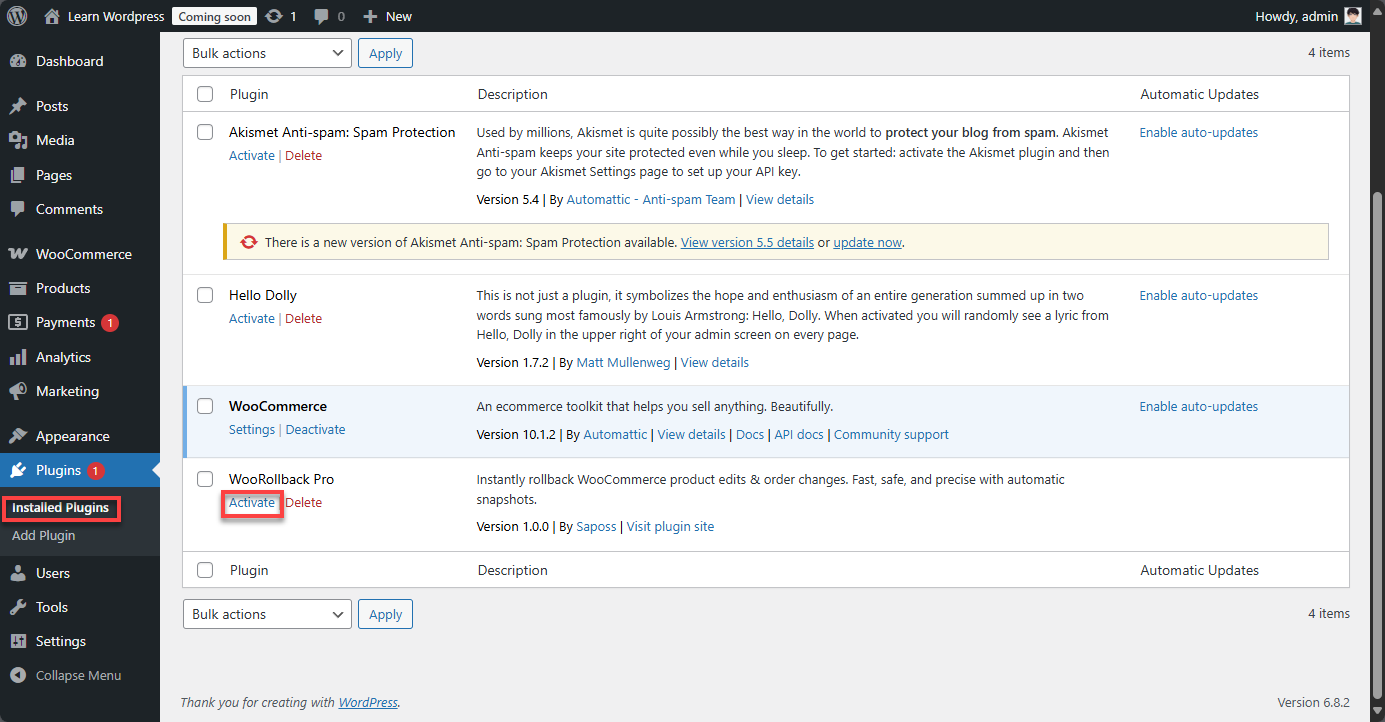
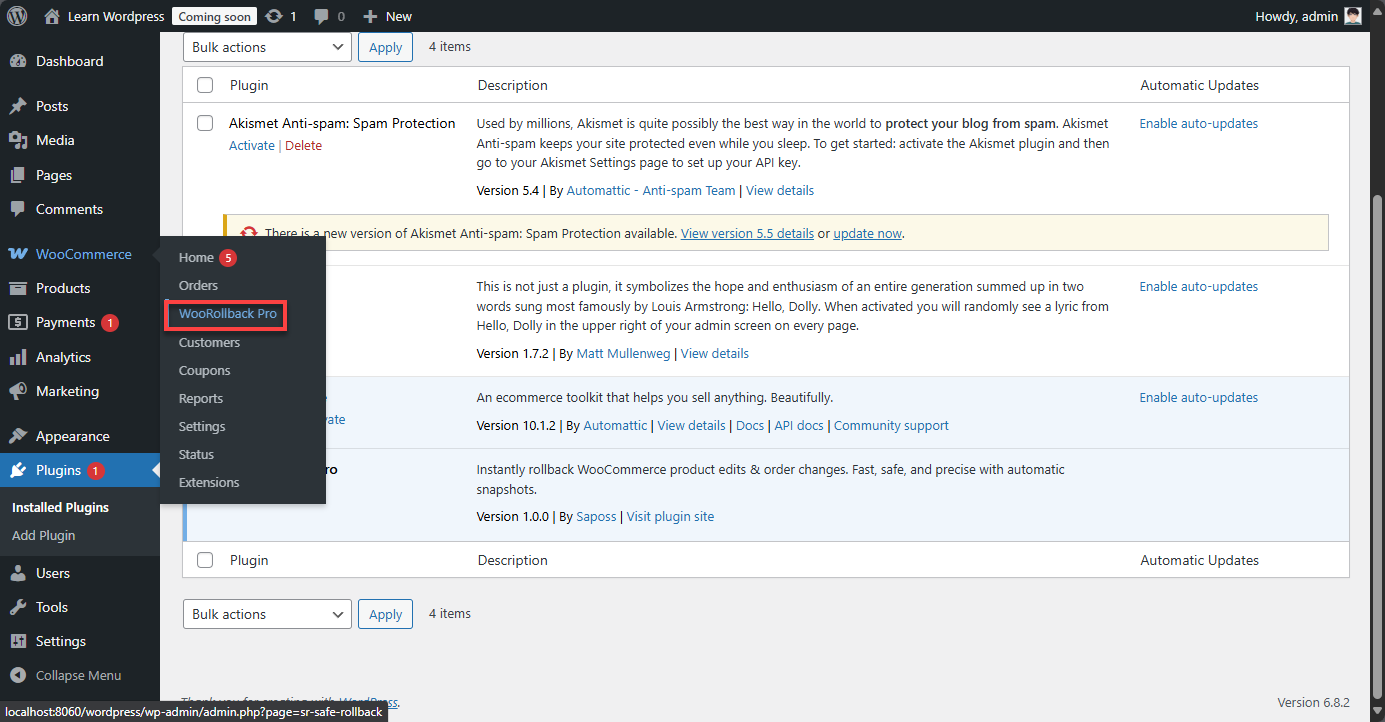
Login to your WordPress admin dashboard and follow these steps:

  • Navigate to Plugins → Add New → Upload Plugin.
  • Click Choose File and select the WooRollback Pro ZIP file.
  • Click Install Now.
  • After installing completely, go to Plugins → Installed Plugins to activate the plugin.
  • After activating completely, go to WooCommerce → WooRollback Pro to see the WooRollback dashboard.

3️⃣ Enter License Key

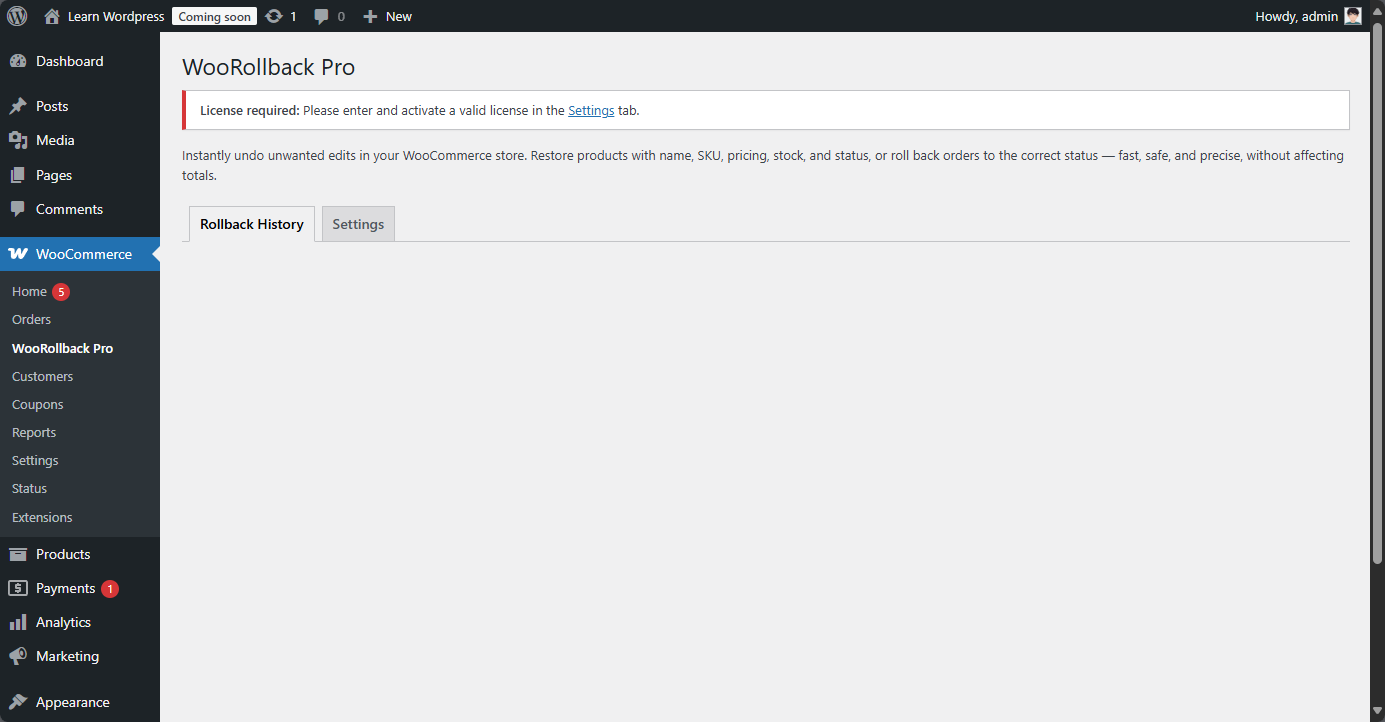
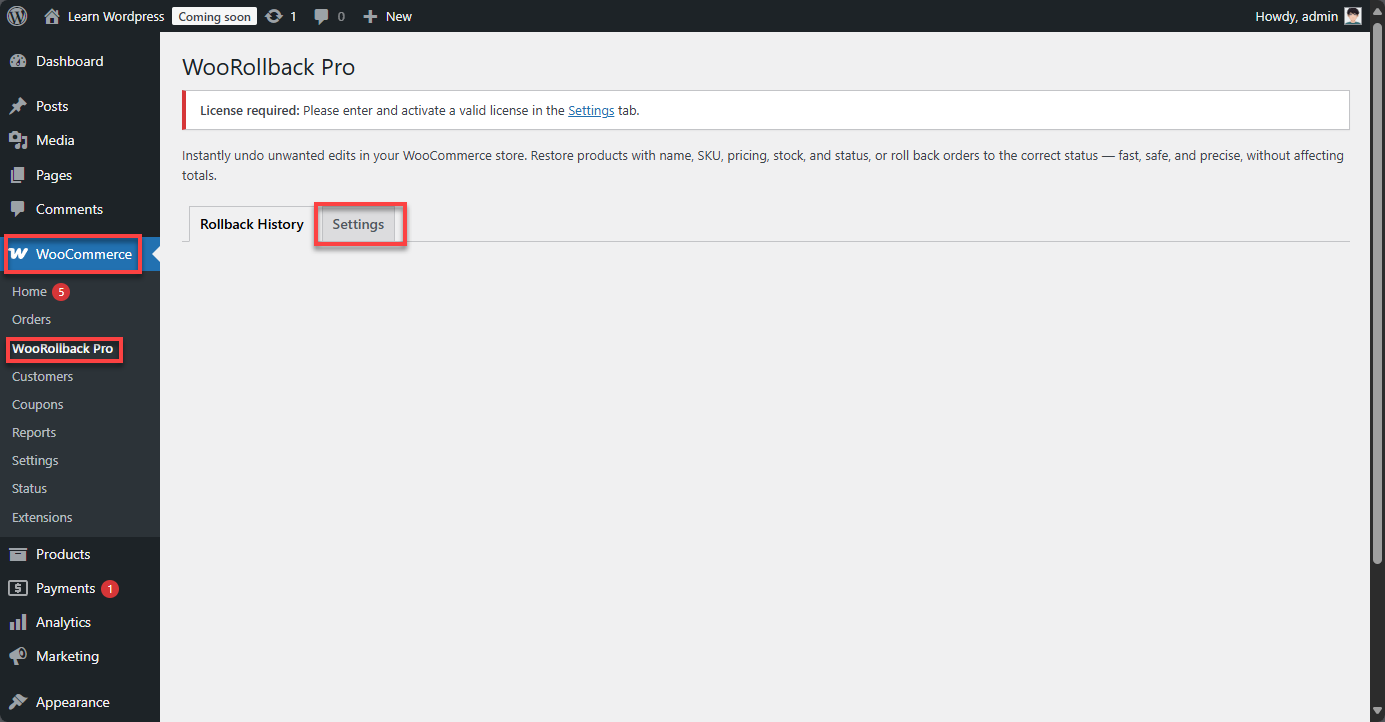
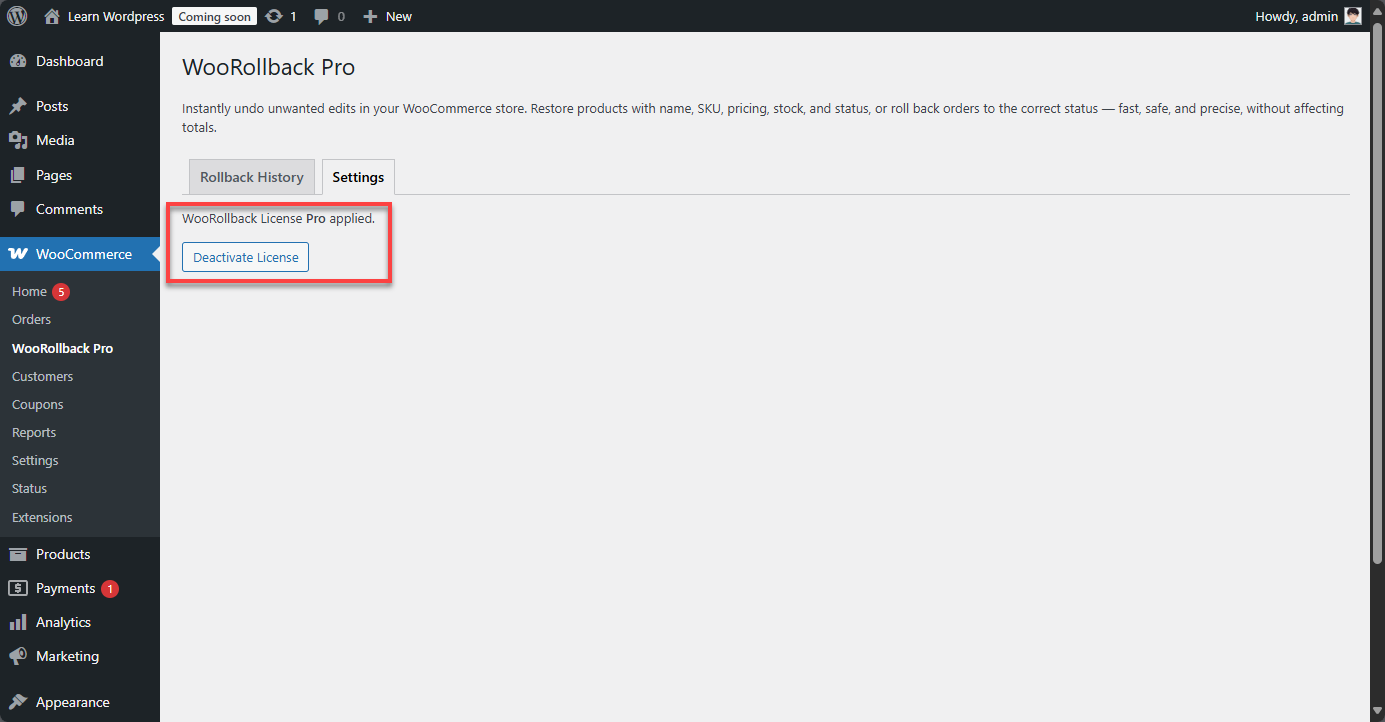
After activation, enter your license key to enable all features:

  • Navigate to WooCommerce → WooRollback Pro → Settings.
  • Paste your license key and click Save License.
  • You should see the following message if the license is valid.

4️⃣ Manage Snapshots

WooRollback Pro automatically logs changes for products and orders:

  • Navigate to WooCommerce → WooRollback Pro → Rollback History.
  • View, restore, or delete any snapshots to manage your store’s history.

5️⃣ Rollback Changes

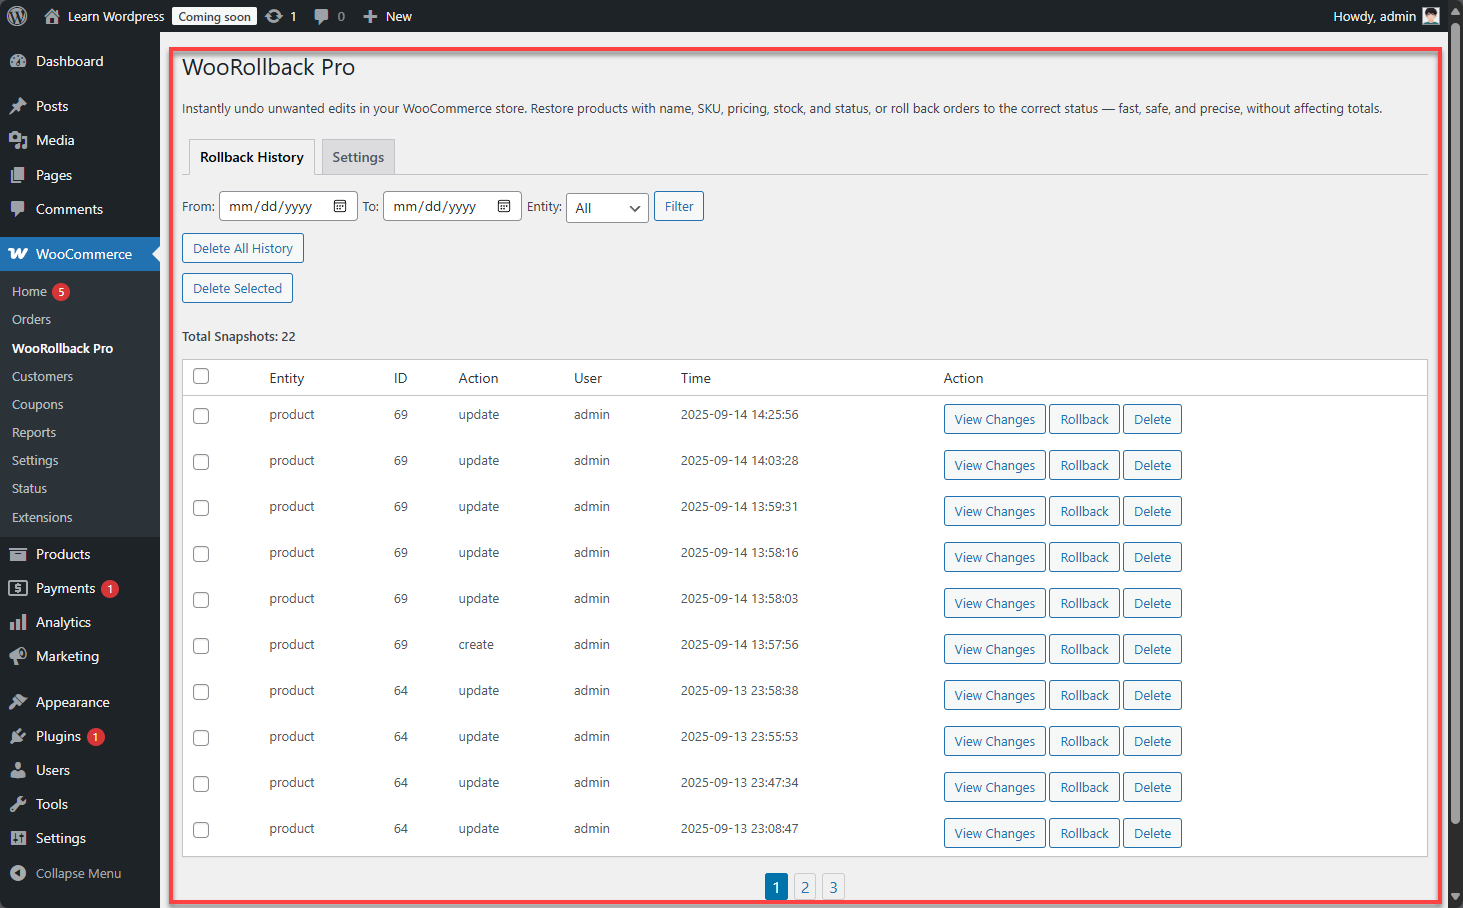
Start protecting your store by rolling back changes:

  • Go to any product or order page in WooCommerce to update.
  • Click the Rollback button next to the change you want to revert.
  • Confirm the rollback to restore the previous values instantly.